To get the best performance from your portable projector, make certain you properly calibrate the image settings, including brightness, focus, and keystone correction, to guarantee sharp visuals and vibrant colors. Position your projector directly in front of the screen at the right distance for clarity, and darken the room to reduce ambient light. Keep everything aligned and clean for maximum results. Stick around to discover more tips that can boost your setup even further.
Key Takeaways
- Calibrate colors and brightness for natural, vibrant images tailored to room lighting.
- Ensure the projector is perfectly perpendicular to the screen to minimize distortion.
- Keep the projector at an optimal distance for sharp focus and clarity.
- Use keystone correction to straighten distorted images and improve alignment.
- Darken the room and choose appropriate screens to enhance brightness and visibility.
Dynamic ACC Positioning Tool For Eyeball Unit, ADAS Calibration Tool
The ANGSO-AUTO leveling tool is designed to be powered by 2* AAA 1.5 V batteries (Please note that…
As an affiliate, we earn on qualifying purchases.
As an affiliate, we earn on qualifying purchases.
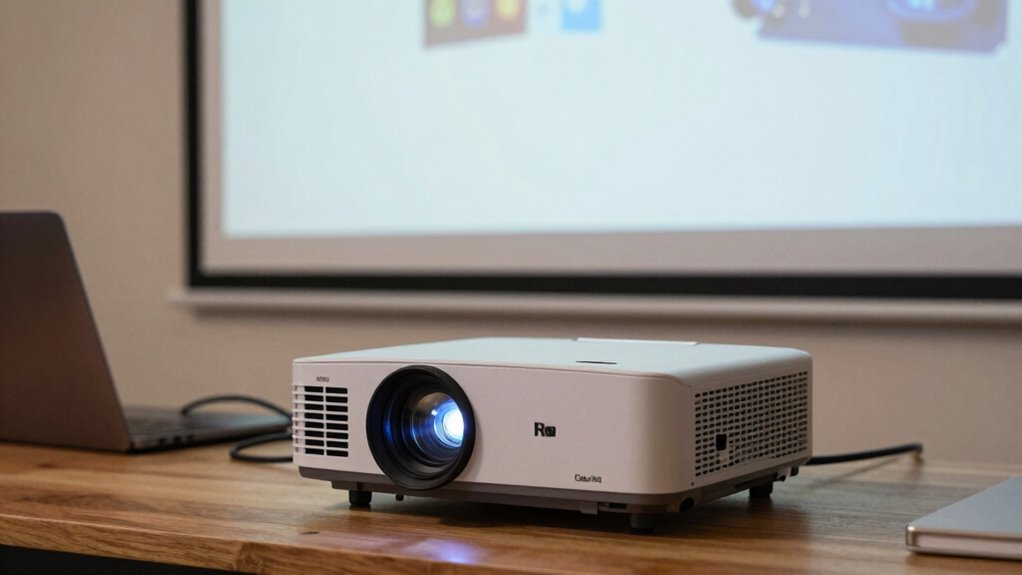
Why Proper Setup Is Key to a Clearer Portable Projector Image
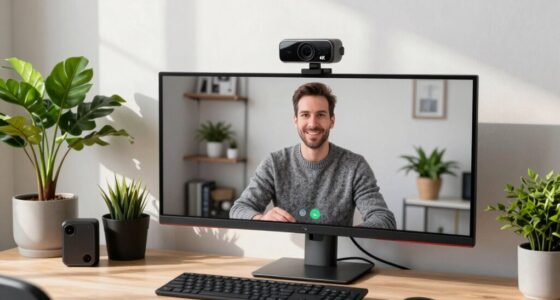
A proper setup is essential if you want a clear, sharp image from your portable projector. Starting with color calibration guarantees the visuals look natural and vibrant, avoiding washed-out or overly saturated colors. Take the time to adjust the projector’s settings to match your environment’s lighting and screen. Sound synchronization is equally important; aligning audio with the visuals prevents distracting delays and enhances your viewing experience. When both color calibration and sound sync are properly handled, your projector performs at its best, delivering crisp images and seamless audio. Content formats play a crucial role in how effectively you can present and interpret visuals, making proper setup even more vital. Skipping these calibration steps can lead to blurry images, dull colors, and audio lag, undermining your setup. Investing a few minutes in these adjustments makes a noticeable difference in overall picture quality.
![[Electric Focus] 4K Support Projector with WiFi6 and Bluetooth 5.3, Outdoor Projectors for Outside Video Use, OWNKNEW Gaming Movie Proyector, Auto Keystone Correction](https://m.media-amazon.com/images/I/51mO30Bev2L._SL500_.jpg)
[Electric Focus] 4K Support Projector with WiFi6 and Bluetooth 5.3, Outdoor Projectors for Outside Video Use, OWNKNEW Gaming Movie Proyector, Auto Keystone Correction
【Plug-and-Play & Budget-Friendly】This mini projector skip the expensive built-in systems—simply plug in your own TV dongle and start…
As an affiliate, we earn on qualifying purchases.
As an affiliate, we earn on qualifying purchases.
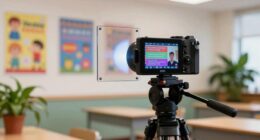
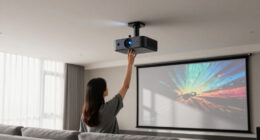
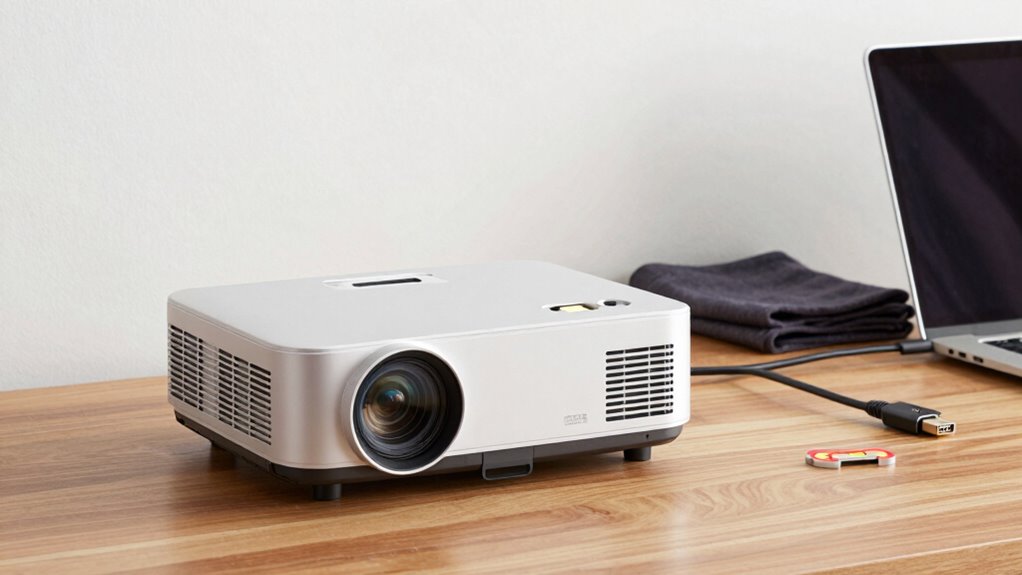
How to Position Your Portable Projector for Maximum Sharpness
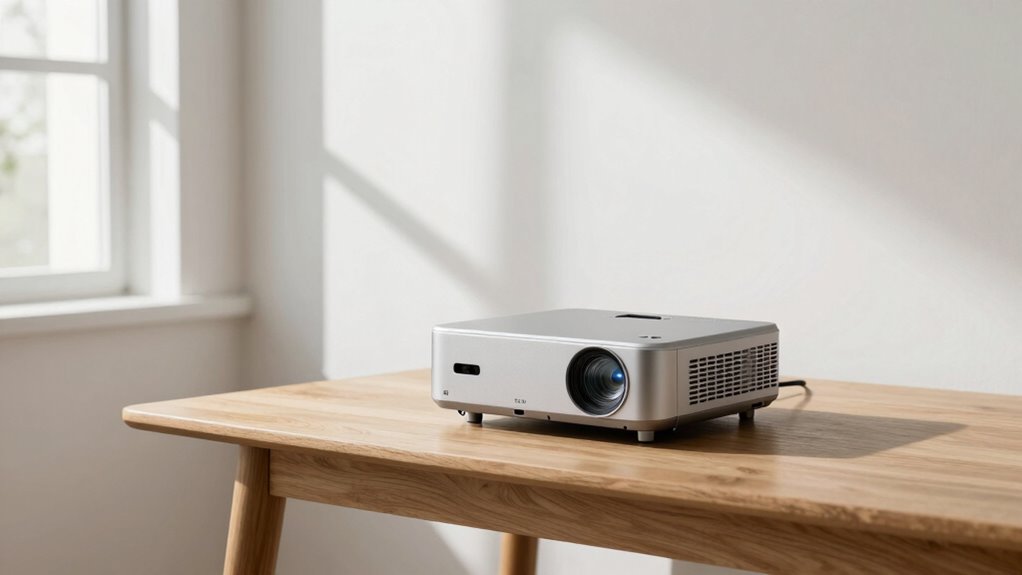
Positioning your portable projector correctly can make a significant difference in image sharpness. Proper placement ensures ideal projection angles, reducing distortion and blurriness. Keep the projector level and at the right distance from the screen for a clear picture. Consider ambient noise levels—minimize distractions to focus on sharp visuals. Here are key tips:
Proper projector placement enhances image clarity by reducing distortion and minimizing distractions.
- Adjust projection angles so the projector is perpendicular to the screen.
- Place the projector directly in front of the display, avoiding skewed angles.
- Keep the projector at an appropriate distance—too close or too far affects sharpness. Maintaining the correct projection distance is crucial for optimal image quality.
- Position the projector where ambient noise is lowest, so audio-visual clarity isn’t compromised.
- Ensure your setup includes reliable cabling solutions to prevent image disruptions and maintain sharpness.
Following these steps enhances sharpness and overall viewing experience.

120inch Projector Screen with Stand: Portable Projector Screen Outdoor Indoor Front/Rear16:9 4K HD with Carry Bag Sandbag- Movie Screen for Backyard Moive Night, Camping, Theater
Unshakably Stable Base and Support: This projection screen features a sturdy base and support—extended and reinforced—effectively addressing instability…
As an affiliate, we earn on qualifying purchases.
As an affiliate, we earn on qualifying purchases.
Fine-Tuning Brightness and Focus for Better Clarity
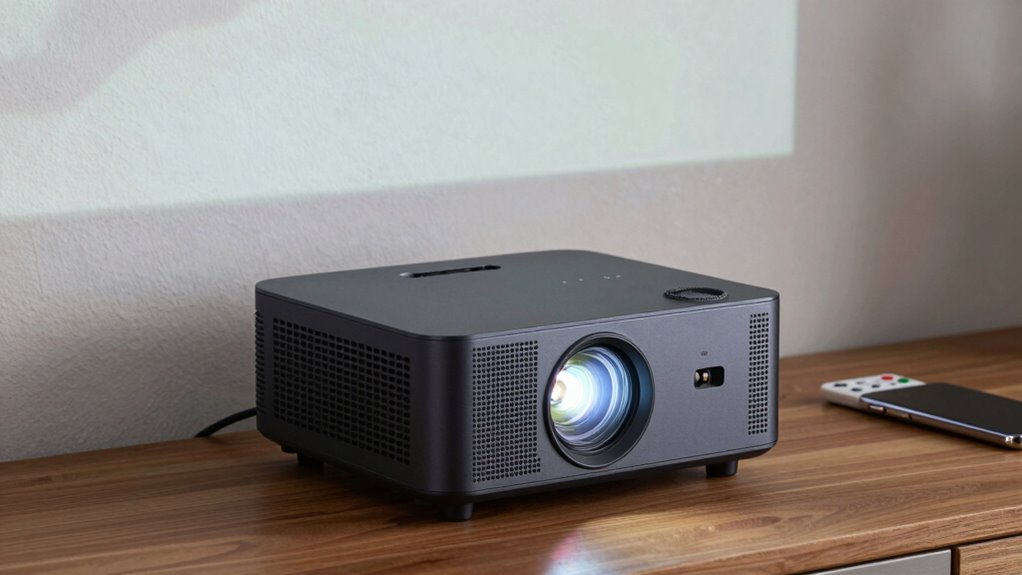
Adjusting your projector’s brightness and focus is essential for achieving a sharp, clear image. Start by fine-tuning the focus until the picture appears crisp and detailed. Use keystone correction if the image is distorted due to projection angle; this helps straighten the picture for better clarity. Next, adjust the brightness to suit your room’s lighting conditions—too bright, and details may wash out; too dim, and the image loses vibrancy. Incorporate color calibration to ensure accurate colors, making the image appear natural and vibrant. These adjustments work together to improve overall clarity and immersion. Taking the time to fine-tune these settings guarantees your portable projector delivers the best picture quality, regardless of environmental factors.

Repair Kit for Kodak Carousel Slide Projector with focus motor – Does not advance
If your projector has a focus motor in it, then this is the kit for you. This kit…
As an affiliate, we earn on qualifying purchases.
As an affiliate, we earn on qualifying purchases.
Choosing the Right Screen and Managing Room Lighting
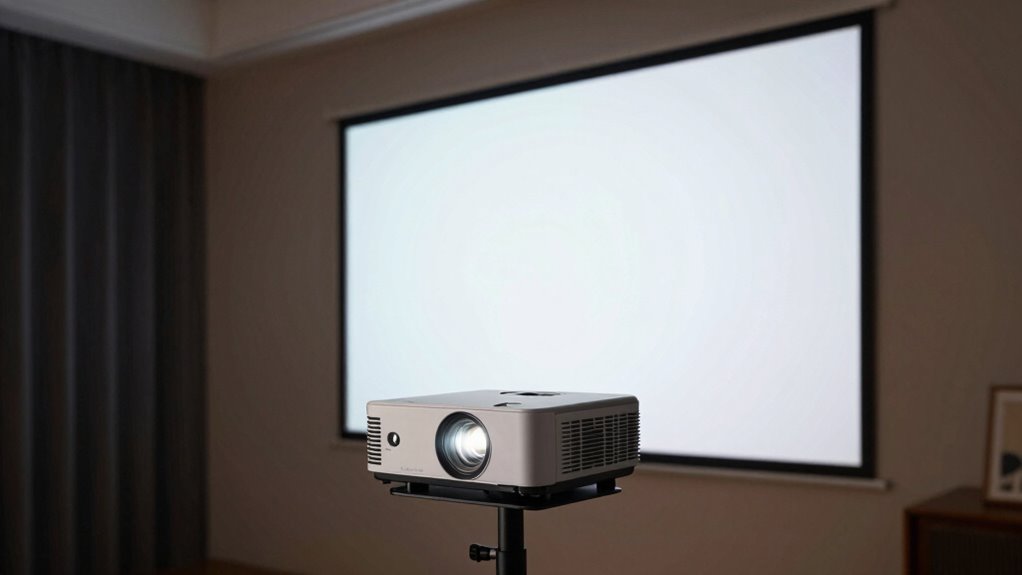
Choosing the right screen and managing room lighting are essential steps to maximize your portable projector’s performance. Selecting a screen with suitable material—such as matte or ambient-light-rejecting surfaces—improves image clarity and color accuracy. Controlling ambient noise and lighting reduces distractions and enhances viewing quality. Here are four tips to optimize your setup:
- Use a screen with high gain or matte finish for better brightness.
- Darken the room by closing blinds or turning off unnecessary lights.
- Minimize ambient noise by choosing a quiet space or using sound barriers.
- Position the projector and screen away from windows or bright lights to prevent glare and washout.
Additionally, understanding the projector’s battery capacity and how to manage power can help ensure consistent performance during your viewing session.
Troubleshooting Common Projection Issues
Are you experiencing blurry images, dim projection, or other unexpected issues? First, check your projection calibration—adjust the focus and keystone settings to sharpen the picture. Verify your device is compatible with your projector; incompatible devices can cause poor image quality. Confirm that your device’s resolution matches the projector’s ideal settings. Sometimes, outdated firmware or drivers can interfere, so keep everything updated. If the image remains dim, clean the projector lens and check the ambient lighting conditions. Also, test different input sources to identify if the problem lies with a specific device. Properly calibrating your projection and confirming device compatibility are key steps to resolving common projection issues and guaranteeing your portable projector performs at its best. Additionally, inspecting your device’s filtering and maintenance routines can help prevent image quality problems caused by dust or debris buildup. Regularly performing routine maintenance ensures optimal performance and longevity of your projector. To further improve your setup, consider upgrading your projection accessories, which can enhance image clarity and overall viewing experience. Incorporating proper device connections can also help stabilize signal quality and improve overall image consistency. Ensuring your connection quality is solid can prevent signal interruptions that degrade image performance.
Frequently Asked Questions
What Are the Best Surfaces for Portable Projector Projection?
You should choose smooth, matte surfaces like white walls or specialized screen materials for the best portable projector projection. These surfaces minimize glare and reflections, ensuring clear images. A flat surface with a matte texture works better than glossy or textured surfaces, which can distort the picture. For ideal results, use a dedicated projection screen or a plain, light-colored wall with minimal texture for sharp, vibrant images.
How Does Ambient Temperature Affect Projector Performance?
Ambient temperature can greatly influence your projector’s performance. If it’s too hot or cold, thermal regulation becomes challenging, causing overheating or freezing of internal components. Maintaining temperature stability ensures your projector runs smoothly and prolongs its lifespan. To optimize performance, avoid extreme temperatures, keep the environment well-ventilated, and use cooling or heating accessories if necessary. Proper thermal regulation helps your projector operate efficiently and delivers clear, consistent images.
Can External Speakers Improve Image Clarity?
External speakers don’t directly improve image clarity, but they substantially enhance audio quality, making your viewing experience more immersive. Better sound can make scenes feel more vivid and engaging, allowing you to focus on the visuals without distraction. For ideal audio enhancement, choose high-quality external speakers compatible with your projector. While they don’t sharpen the image, clear, crisp sound boosts overall enjoyment and perception of your multimedia content.
What Maintenance Tips Ensure Long-Term Projector Clarity?
To keep your projector clear long-term, regularly clean the lenses with a soft, lint-free cloth to prevent dust buildup that blurs images. Also, perform power calibration periodically to guarantee peak performance and color accuracy. Avoid touching the lens with your fingers, and store your projector in a cool, dust-free place when not in use. These simple steps help maintain bright, sharp images and extend your projector’s lifespan.
How Do Projection Angles Impact Image Distortion?
You might notice image distortion if your projection angle isn’t right. When your projector isn’t aligned with the screen, lens misalignment can cause keystone distortion, making the image look trapezoidal. To rectify this, adjust the projection angle or use keystone correction features. Proper lens alignment guarantees your image stays rectangular, while keystone correction helps fix distortions caused by off-center setups, giving you a clear, balanced picture every time.
Conclusion
By applying these setup tricks, you’ll notice a clearer, sharper image from your portable projector. Proper positioning, brightness adjustments, and choosing the right screen make a big difference. Interestingly, some experts suggest that a prime setup isn’t just about equipment but also about understanding how your environment affects projection. So, experiment with your space—small tweaks can notably improve your viewing experience. Ultimately, a little effort upfront ensures you’ll enjoy a crisp, vibrant picture every time.