To make your smartphone gimbal look more premium, focus on upgrading its finish with sleek materials like matte aluminum or carbon fiber wraps. Adding minimalist accessories such as grips or lens adapters that match the style can enhance its high-end feel. Keep the surface clean and free of scratches, and consider using vinyl wraps or decals for a polished look. Continue exploring how small tweaks can elevate your setup even further.
Key Takeaways
- Apply high-quality matte or metallic skins to enhance the gimbal’s sleek appearance.
- Keep the surface clean and scratch-free for a polished, professional look.
- Use minimal, compatible accessories like slim lens adapters or grips for a refined style.
- Incorporate cohesive color schemes and reflective finishes for an elegant setup.
- Regularly maintain and clean the gimbal to preserve its premium finish and visual appeal.

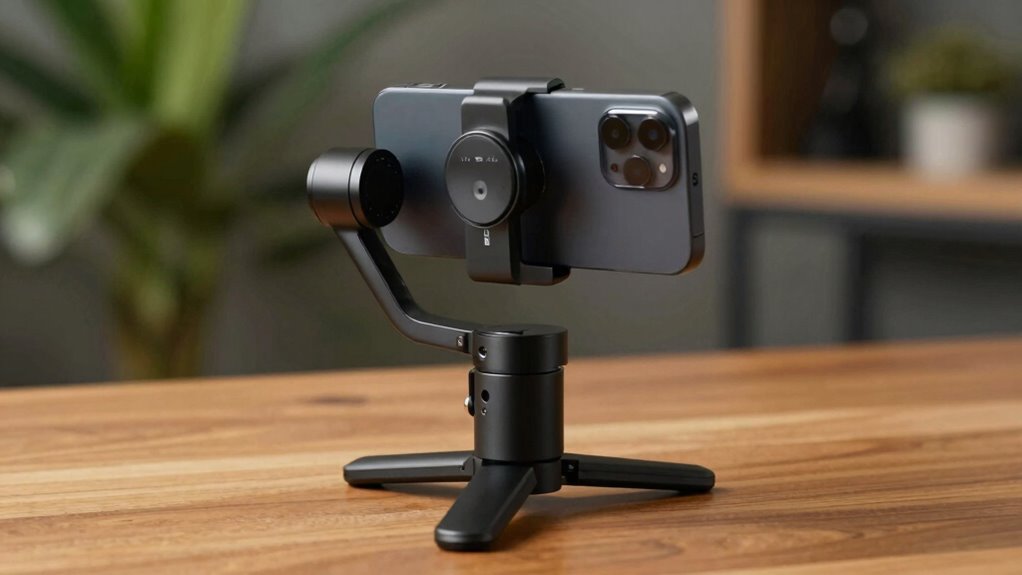
DJI Osmo Mobile 7P Gimbal Stabilizer for iPhone & Android, Native Tracking
Snap the Spectacular – The Multifunctional Module packs intelligent tracking, DJI Mic 2/DJI Mic Mini reception, and lighting…
As an affiliate, we earn on qualifying purchases.
As an affiliate, we earn on qualifying purchases.
How to Make Your Smartphone Gimbal Look High-End on a Budget
If you want your smartphone gimbal to look more high-end without spending a fortune, a few simple upgrades can make a big difference. Focus on accessories enhancement by adding sleek, compatible accessories like lens adapters, stylish grips, or minimalist covers. These small touches elevate its appearance and feel. Doing a brand comparison helps you find affordable options that match premium looks without the hefty price tag. Look for well-reviewed brands known for quality, even if they’re not the most popular. This way, you get a refined look without overspending. Keep your gimbal’s surface clean and free of scratches, which also contributes to a more polished, high-end appearance. Additionally, paying attention to product durability ensures your accessories maintain their premium look over time. Recognizing wear and tear signs or other subtle signs of wear can help you choose accessories that are not only stylish but also long-lasting. Incorporating essential oils for maintenance into your routine can help preserve the appearance and functionality of your accessories by preventing corrosion or buildup. Regularly inspecting your gimbal and accessories for damage or deterioration can extend their lifespan and keep them looking new. With these budget-friendly tweaks, your gimbal will look stylish and professional in no time.
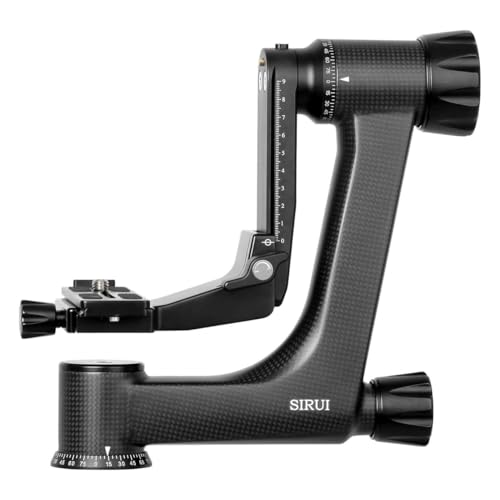
SIRUI PH-Series Carbon Fiber Gimbal Head (PH-30)
Load Capacity: 55.1 lb
As an affiliate, we earn on qualifying purchases.
As an affiliate, we earn on qualifying purchases.
Best Materials for a Sleek, Professional Gimbal Finish
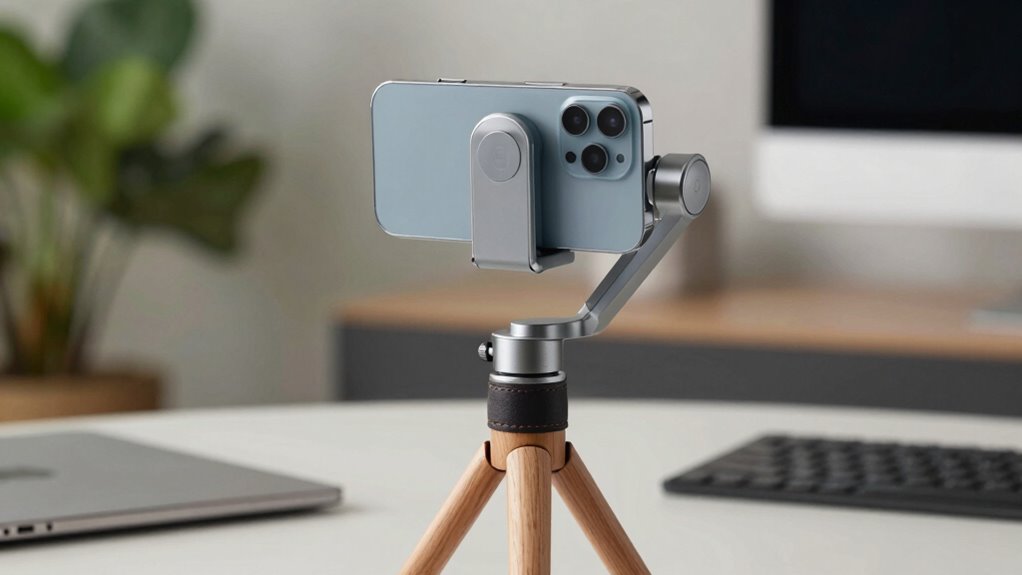
Choosing the right materials can instantly elevate your gimbal’s appearance, making it look sleek and professional. Opt for high-quality finishes like matte aluminum or carbon fiber, which combine durability with a premium feel. These materials resist scratches and wear, ensuring your gimbal stays looking sharp over time. Focus on color coordination, selecting tones that match or complement your device for a cohesive, polished look. Visualize a gimbal with a smooth, metallic surface reflecting light subtly, or a matte finish that feels refined to the touch. Key options include:
Choose matte aluminum or carbon fiber for a sleek, durable, and professional gimbal finish.
- Matte aluminum with a subtle color palette
- Carbon fiber for lightweight strength and style
- Anodized metal with sleek, uniform hues
These choices help you craft a professional vibe without sacrificing material durability. Paying attention to material finishes can further enhance the overall aesthetic and longevity of your device, especially when considering backyard transformation essentials to create an environment that complements your tech setup. Incorporating cohesive design elements can also make your setup look more intentional and refined, while understanding the importance of material science ensures you select the most suitable options for long-term use. Additionally, considering aesthetic consistency can help unify your entire setup for a more sophisticated appearance.
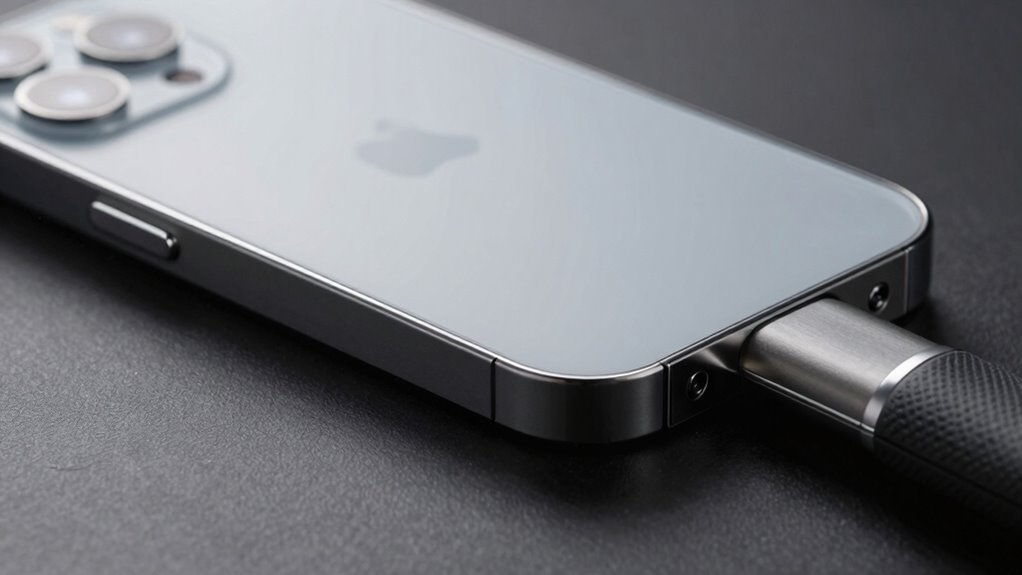
minimalist lens adapters for gimbal
As an affiliate, we earn on qualifying purchases.
As an affiliate, we earn on qualifying purchases.
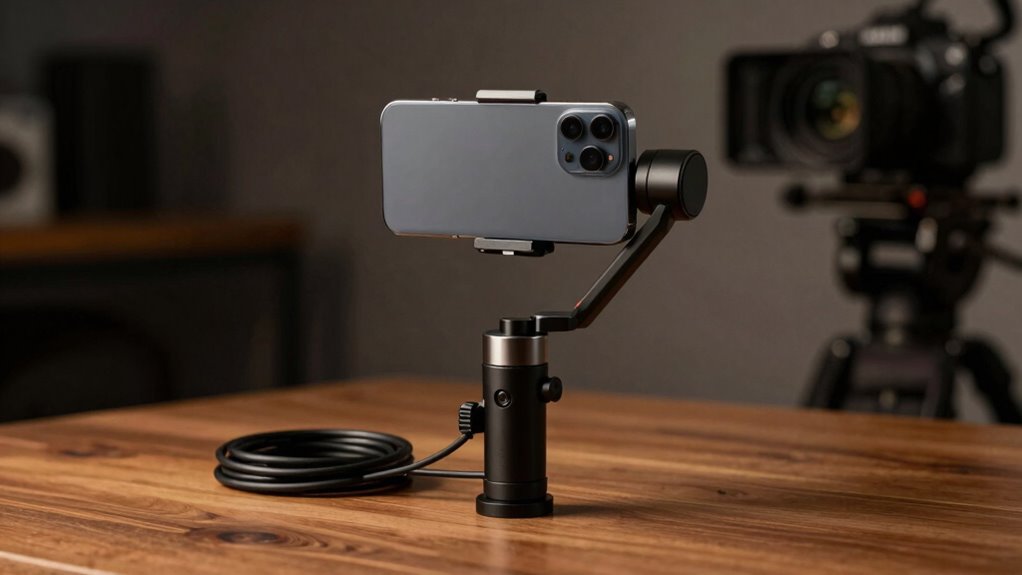
Step-by-Step: Applying an Easy Hack to Upgrade Your Gimbal’s Style
Transforming your gimbal’s style is easier than you might think with a simple hack that doesn’t require specialized tools or extensive skills. To upgrade its look, start by selecting a sleek, matte finish or custom skins from smartphone accessories. Next, clean your gimbal thoroughly to guarantee a smooth application. Use adhesive-backed vinyl wraps or decals designed for electronics, wrapping carefully to avoid air bubbles. This improves camera stabilization aesthetics by giving your device a more premium appearance. For added style, consider small embellishments like metallic accents or grip enhancements. These easy modifications instantly elevate your gimbal’s visual appeal, making it look more professional. The best part? You can do it in minutes, and your upgraded style will be ready for your next shoot or social media post.
DJI Osmo Mobile 7P Gimbal Stabilizer for iPhone & Android, Native Tracking
Snap the Spectacular – The Multifunctional Module packs intelligent tracking, DJI Mic 2/DJI Mic Mini reception, and lighting…
As an affiliate, we earn on qualifying purchases.
As an affiliate, we earn on qualifying purchases.
Tips to Keep Your Gimbal Looking New and Polished
Once you’ve given your gimbal a fresh look with stylish upgrades, it’s important to maintain its sleek appearance over time. To keep it looking new and polished, regularly clean the surface with a soft cloth and avoid abrasive cleaners. Check gimbal compatibility before attaching accessories to prevent damage or imbalance that could affect performance. Properly store your gimbal in a cool, dry place to preserve its finish and battery life. Keep the battery charged but avoid overcharging to extend its lifespan. Incorporating environmentally friendly materials can also help reduce the ecological impact if you decide to upgrade or replace parts in the future.
- Wipe dust and fingerprints from the surface frequently for a pristine look
- Use protective cases or covers to guard against scratches
- Regularly calibrate and check the battery to guarantee optimal performance
Common Mistakes to Avoid When Styling Your Gimbal
While styling your gimbal can enhance its appearance, it’s easy to make mistakes that could compromise its performance or longevity. Avoid overloading with gimbal accessories, which can affect balance and smoothness. Using poor-quality accessories or improper photography techniques may lead to instability or damage. Be cautious about adding too many items or bulky accessories that interfere with movement. Also, resist the urge to customize without considering weight distribution, as uneven setups can cause strain. Proper weight distribution is crucial for maintaining optimal performance and preventing unnecessary wear on your device. Additionally, neglecting device maintenance can accelerate wear and reduce lifespan. Regularly cleaning your gimbal and checking for loose parts can help maintain its long-term durability. It’s also beneficial to familiarize yourself with your gimbal’s manufacturer guidelines, as following these instructions can help avoid common pitfalls. Here’s a quick visual guide:
| Mistake to Avoid | Consequence |
|---|---|
| Overloading with accessories | Reduced stability and motor strain |
| Using incompatible accessories | Damage or imbalance |
| Ignoring weight distribution | Poor footage and potential damage |
| Neglecting proper photography techniques | Blurry or shaky shots |
Frequently Asked Questions
Can This Setup Trick Improve the Gimbal’s Actual Performance?
This setup trick mainly enhances the gimbal’s styling durability and appearance, making it look more premium. However, it doesn’t improve the actual performance or gimbal compatibility, like stabilization or battery life. You might enjoy a sleeker look, but for better performance, focus on the gimbal’s technical specs. So, while it boosts aesthetics, it doesn’t directly enhance your gimbal’s functional performance.
What Tools Are Needed for the Setup Trick?
You need just a few simple tools for this aesthetic enhancement and DIY customization. Grab some adhesive tape, small screws, and a craft knife to refine the gimbal’s look. A steady hand and patience are your best allies. These tools let you add personal touches, making your gimbal appear more premium. With a bit of effort, you’ll transform its appearance, blending style with functionality effortlessly.
How Long Does the Styling Upgrade Last?
The styling upgrade typically lasts for several weeks, depending on how often you use your gimbal and the conditions it’s exposed to. For the best aesthetic enhancement, you should periodically check for signs of wear and perform durability testing if needed. Regular maintenance helps preserve the look and guarantees your setup remains premium. Keep an eye on how the accessories hold up over time to maximize their longevity.
Will the Hack Work on All Gimbal Brands and Models?
Think of this hack as a universal key—while it works with many gimbal brands and models, accessory compatibility varies. You might find it enhances the aesthetic look, giving your gear a more premium vibe, but it’s not a one-size-fits-all solution. Check your gimbal’s specifications first, and be prepared to tweak or adjust for the best aesthetic enhancement. It’s worth trying out to upgrade your setup’s overall look!
Is This Method Reversible Without Damage?
Yes, this method is reversible without damage, allowing you to revert to the original setup if needed. When you’re doing aesthetic customization, it’s important to take durability concerns into account. Using removable materials or adhesives ensures you won’t harm your gimbal and can easily switch back if you decide to change the look. Just be gentle during removal to prevent any accidental damage, and your gimbal stays protected.
Conclusion
Now that you’ve uncovered this simple setup trick, your gimbal’s transformation isn’t just about looks—it’s about redefining your entire shooting experience. But beware: the true challenge lies ahead. Will you stick with the familiar, or dare to experiment further? The secret to a truly premium feel might just be one small tweak away. Ready to take your gear—and your creativity—to the next level? The choice is yours, and the journey has only just begun.