
The setup trick that instantly improves your portable scanner’s performance is ensuring your documents are perfectly flat and precisely aligned on a stable, smooth surface. Use proper lighting to avoid shadows and glare, and keep your scanner calibrated regularly for accurate colors and contrast. Maintaining a clean scanner glass and stabilizing documents during scans also help prevent blurry or faint images. Keep these tips in mind, and you’ll see clear, sharp results every time—you’ll discover even more ways to optimize your scans.
Key Takeaways
- Calibrate your scanner regularly to ensure optimal color accuracy and performance across different document types.
- Use a flat, stable surface and proper document alignment to prevent skew and improve image sharpness.
- Maintain consistent, diffuse lighting conditions to minimize glare, shadows, and uneven exposure.
- Keep the scanner glass spotless and clean to avoid smudges and distortions.
- Secure documents firmly and ensure they lie flat for clearer, more precise scans.

Aproca Case Compatible with Brother DS-640 / DS-740D / DS-940DW / Doxie Go SE Compact Mobile Document Scanner, Portable Storage Bag for Accessories (Case Only)
Practical Design: Comfortable handle for easy portability,Comes with specially mesh pocket for other accessories,Smooth but strong double zipper…
As an affiliate, we earn on qualifying purchases.
As an affiliate, we earn on qualifying purchases.
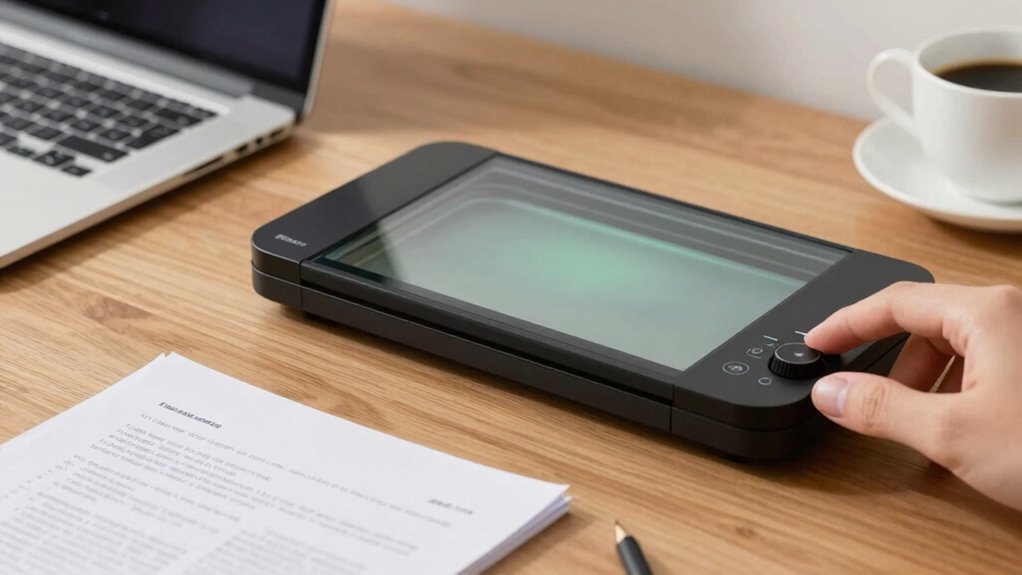
The One Setup Change That Instantly Boosts Scan Quality

One of the simplest ways to instantly improve your portable scanner’s image quality is to adjust the brightness and contrast settings before scanning. This quick change helps guarantee your documents are clear and legible. Proper document organization makes it easier to align papers and avoid overlaps, reducing the need for multiple rescans. Using the right scanning accessories, like a flat, stable surface or a lightweight document holder, can also improve results. When your documents are well-organized and properly prepared, the scanner can produce sharper images with less glare or shadows. Additionally, understanding scanning best practices can help you achieve consistently high-quality results. Properly document setup ensures your scans are more accurate and professional, saving you time in editing and re-scanning. Adjusting these settings beforehand saves you time and minimizes the need for post-scan editing. Incorporating knowledge of regional flavors and styles can also inspire you to customize your scanning environment for better lighting and minimal reflections. Being aware of color accuracy and how it impacts digital reproductions can further enhance the clarity and fidelity of your scanned documents. Recognizing the importance of proper lighting conditions can significantly reduce glare and shadows, resulting in clearer scans. Overall, this small setup tweak considerably enhances scan quality, making your digital copies clearer and more professional.

FOXWELL NT301 OBD2 Scanner Live Data Professional Mechanic OBDII Diagnostic Code Reader Tool for Check Engine Light
【Read Fault Codes】About the read code funtion needs to be in the ignition on state and if the…
As an affiliate, we earn on qualifying purchases.
As an affiliate, we earn on qualifying purchases.
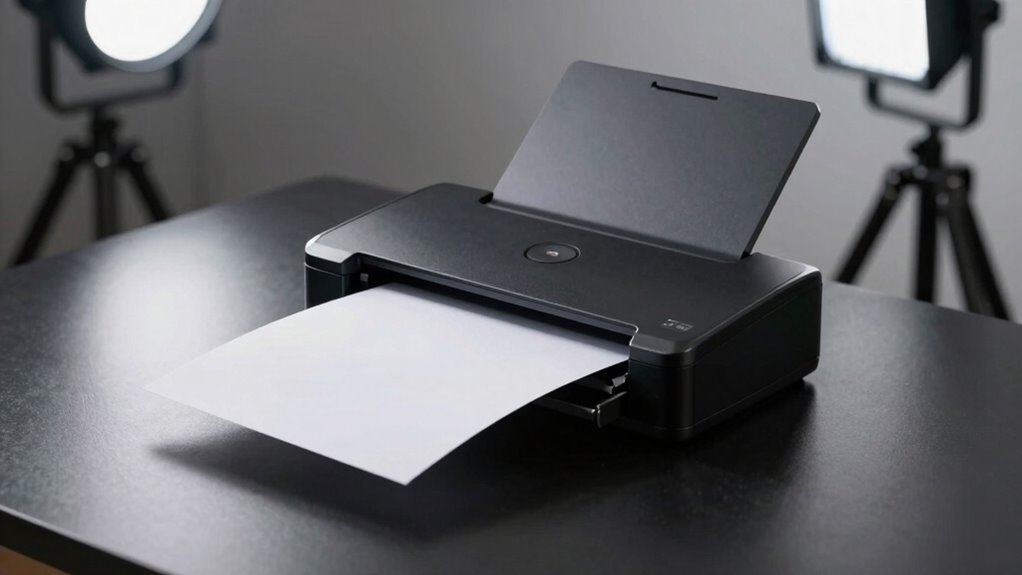
Pick the Best Surface for Sharp, Clear Scans
Choosing the right surface for your scanner can make a noticeable difference in the sharpness and clarity of your scans. Opt for a smooth, flat surface with minimal surface textures, as rough textures can create shadows or distortions. A clean, even background helps the scanner capture crisp details without interference. Additionally, consider ambient lighting—overly bright or uneven lighting can cause glare or shadows, reducing scan quality. Find a well-lit area with diffuse light to ensure even illumination. Avoid reflective surfaces or those with complex patterns, which can reflect light unpredictably. Using a stable, neutral-toned surface will help your scanner produce clearer, more professional-looking results. Small adjustments to your surface choice can considerably improve scan sharpness and overall quality. Proper surface choice can optimize your scanning results and make your documents look more polished. By selecting a surface that minimizes surface textures, you can further enhance the clarity of your scans. Ensuring your workspace has minimal ambient interference can also significantly improve scan quality.

Canon Canoscan Lide 300 Scanner (PDF, AUTOSCAN, Copy, Send)
Scanner type: Document
As an affiliate, we earn on qualifying purchases.
As an affiliate, we earn on qualifying purchases.
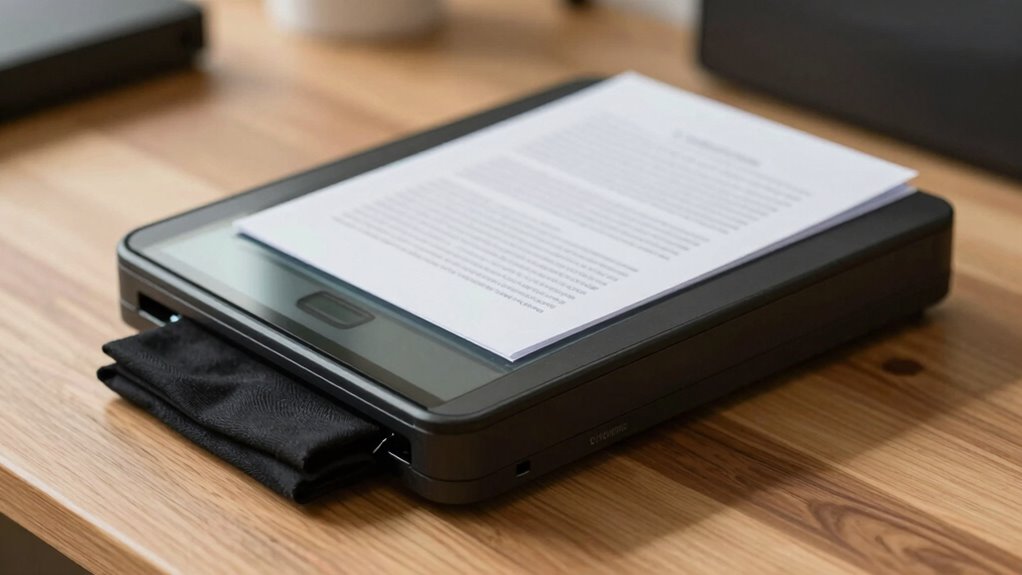
Position Your Document Precisely for Better Results
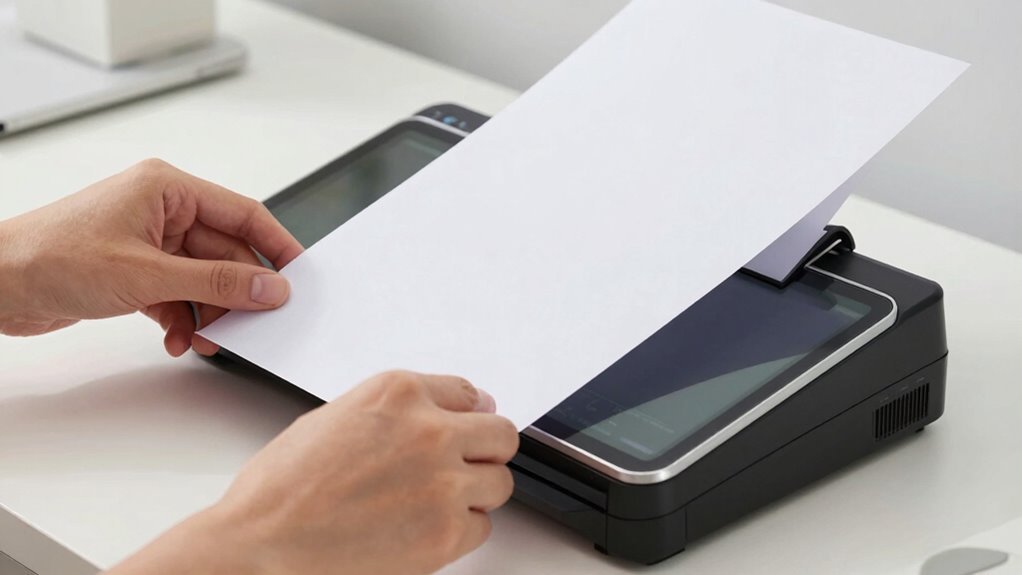
Make certain your document lies flat on a smooth surface to avoid wrinkles or shadows. Carefully align the edges so the entire page is centered and straight. Precise positioning ensures your scanner captures clear, professional-quality images every time. Additionally, ensuring proper lighting conditions can further enhance scan clarity and reduce glare or uneven shadows. Incorporating landscaping principles, such as controlling ambient light, can help create consistent and optimal lighting environments for scanning. Paying attention to ergonomic setup can also reduce strain and improve your overall scanning accuracy. Properly considering home layout can further optimize your scanning area for comfort and efficiency. Being mindful of your digital workspace setup can support sustained focus and better results during extended scanning sessions.
Use a Flat Surface
Have you ever noticed how a slightly tilted or uneven document can result in blurry or skewed scans? To avoid this, always use a flat surface. This helps keep the paper orientation consistent and prevents warping caused by varying document thickness. A stable, flat surface ensures your scanner captures clear, straight images. When selecting a surface, choose one free of wrinkles or bumps to maintain perfect alignment. The table below highlights key factors:
| Surface Type | Stability | Suitability for |
|---|---|---|
| Glass table | Very stable | Thin or thick papers |
| Wooden desk | Stable | Light documents |
| Plastic mat | Moderate | Flexible documents |
Using a flat, reliable surface makes your scans sharper and more professional.
Align Edges Carefully
To achieve sharp, accurate scans, you need to carefully align the edges of your document before capturing the image. Proper edge alignment ensures your scan is straight and professional-looking. Place your document flat on the surface, making sure the edges are even and parallel to the scanner’s borders. This helps prevent skewed images and makes border trimming easier afterward. Take a moment to check that all four edges are aligned and straight, adjusting as needed. Accurate edge alignment reduces the need for extensive border trimming, saving you time and effort in post-processing. Additionally, ensuring your document is properly positioned can help prevent issues like skewed images caused by misalignment. By positioning your document precisely, you’ll get clearer, more consistent scans that look neat and well-organized. Proper alignment is a simple step that makes a big difference in scan quality.

OKJIEER Cleaning kit for Scanners Printers with 4x4inch Lint Free Cleaning Cloths & Cleanroom Polyester Cleaning Swabs
Cleaning kit for All Scanners and Printers
As an affiliate, we earn on qualifying purchases.
As an affiliate, we earn on qualifying purchases.
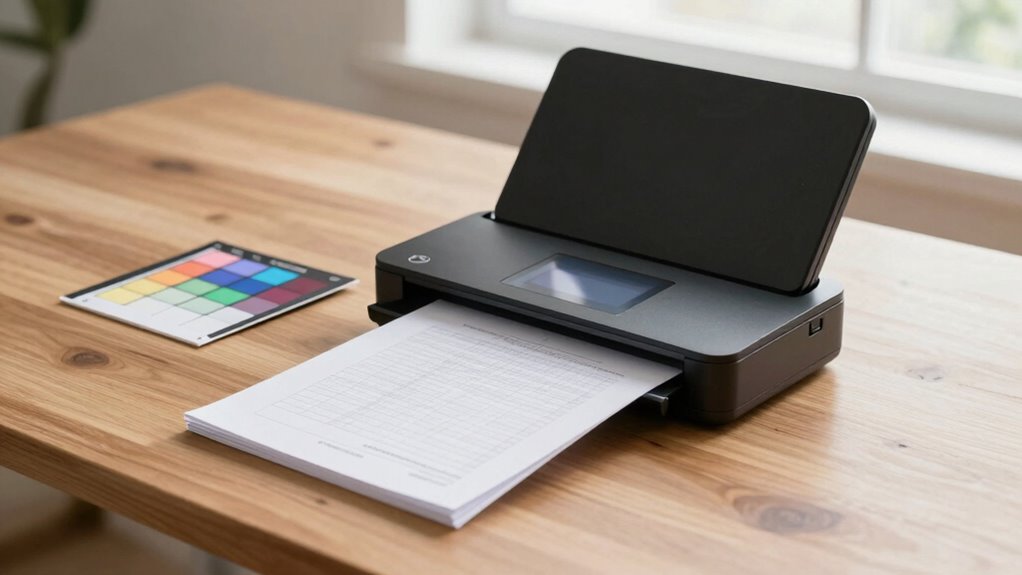
Adjust Scanner Settings for Perfectly Clear Images
Adjusting your scanner settings is essential for capturing crisp, clear images. To guarantee optimal results, focus on color accuracy and selecting the right paper type. Properly calibrated settings help maintain true colors and details, especially when scanning documents with vivid or subtle hues. Additionally, considering water damage and ensuring your scanner is free from moisture can prevent smudges or distortions that compromise image quality. Being aware of light conditions can also improve scanning clarity, as ambient lighting may affect the scan output. Choosing the right options ensures your scans are sharp and true to the original, reducing the need for post-processing. Fine-tuning these settings makes your portable scanner more effective and reliable.
Keep Lighting and Stability Consistent During Scanning
Maintaining consistent lighting and stability during scanning is essential for producing clear, high-quality images. When your lighting stays steady, your scanner captures accurate color reproduction, ensuring color accuracy in the final image. Avoid fluctuating light sources, which can cause shadows or uneven brightness, making shadow reduction difficult. Keep your scanner steady by placing it on a flat surface and using a support if needed, preventing blurriness or misalignment. Consistent lighting and stability help prevent color shifts and unwanted shadows, resulting in sharper, more professional-looking scans. If possible, scan in a well-lit room with diffuse light to minimize glare and shadows. Additionally, using proper setup techniques can further enhance your scanning results and ensure safety during the process. Ensuring a stable environment not only improves quality but also reduces the risk of accidents or damage to your equipment. Being aware of the high-tech vaping innovations in the market can inspire creative ways to optimize your workspace and equipment setup for better scanning results. Paying attention to lighting control can help you maintain optimal conditions and achieve consistently high-quality scans. Incorporating knowledge about sound healing science might also help create a calm environment, reducing distractions during the scanning process.
Calibrate Your Scanner for Better Clarity
Calibrating your scanner is an essential step in achieving sharper, more accurate images. Start by adjusting settings based on document thickness, guaranteeing the scanner’s bed and lid are aligned to prevent uneven pressure that can cause blurring. Proper scanner ergonomics also play a role; position your device comfortably to avoid unnecessary movement during scans. Many portable scanners have calibration tools or software options—use these to fine-tune color and contrast, which enhances clarity. Regular calibration helps your device adapt to different document types and thicknesses, reducing the need for multiple rescans. Keep your scanner in a stable position and handle it gently, maintaining consistent pressure. This ensures you get clear, professional-looking scans every time, regardless of document variety or thickness. Additionally, maintaining proper scanner maintenance practices, such as cleaning the glass regularly, can further improve calibration results and image quality. Incorporating heat buffering techniques during calibration can also help prevent image distortions caused by temperature fluctuations, ensuring consistent results. Being mindful of your scanner’s environmental conditions can also contribute to more reliable calibration and image clarity.
Fix Common Blurry or Faint Scan Problems
Blurry or faint scans are often caused by improper focus, low contrast, or insufficient lighting during the scanning process. To fix this, start by adjusting the scanner’s focus and ensuring your document is flat and well-lit. Use color correction tools to enhance faded colors and improve overall clarity. Also, avoid excessive file compression, which can reduce detail and make scans appear blurrier or fainter.
| Issue | Solution |
|---|---|
| Blurry scans | Check focus and lighting |
| Faint colors | Use color correction tools |
| Loss of detail | Minimize file compression |
How to Prevent Blurriness and Maintain Scan Quality
To prevent blurriness and keep your scan quality high, you need to pay close attention to your scanning environment and device settings. Clear, well-lit conditions help guarantee sharp images, essential for effective document preservation and digital archiving. Use the highest resolution available on your scanner to capture details accurately. Keep your scanner’s glass clean to avoid smudges that cause blurriness. Additionally, stabilize your documents to prevent movement during scanning, which can distort images.
Ensure proper lighting, high resolution, clean glass, and stable documents for sharp, high-quality scans.
Here are four key tips:
- Guarantee proper lighting and avoid shadows.
- Use the highest resolution setting.
- Keep the scanner glass spotless.
- Secure documents to prevent shifting.
Frequently Asked Questions
Can Scanner Settings Be Customized for Different Document Types?
Yes, you can customize scanner settings for different document types. Adjusting resolution, color mode, and file format helps you optimize digital file formats and improve OCR accuracy. For example, scanning text-heavy documents in black and white at a higher resolution boosts clarity and makes OCR more reliable. Tailoring settings based on document type guarantees your scans are clear, accurate, and easy to manage, saving you time in editing or re-scanning.
What Accessories Can Enhance Portable Scanner Performance?
Did you know that 70% of portable scanner users report improved efficiency with the right accessories? To boost performance, consider accessories like wireless connectivity adapters for seamless scanning on the go. Additionally, battery life optimization tools, such as portable power banks, guarantee your scanner stays powered longer. These accessories help you scan more documents faster and more conveniently, making your portable scanner a more reliable and efficient tool for all your needs.
How Often Should I Calibrate My Portable Scanner?
You should calibrate your portable scanner whenever you notice a decline in image resolution or if color accuracy seems off. Regular calibration guarantees peak performance, especially for tasks requiring precise detail. Keep an eye on power management; if your scanner powers down unexpectedly or performance drops, it’s time to recalibrate. Doing this periodically maintains image quality, prolongs device life, and keeps your scans consistently clear and accurate.
Does Paper Color Affect Scan Clarity and Quality?
Did you know that over 60% of scanned documents suffer from unclear images due to paper color? Yes, paper brightness and ink contrast greatly impact scan quality. If your paper is too dark or dull, details can get lost, making scans blurry or hard to read. To improve clarity, always use high-brightness paper with good contrast, ensuring your scanner captures sharp, clear images every time.
Are There Specific Cleaning Tips for Maintaining Scanner Lens?
To keep your scanner lens clean, regularly remove dust buildup and lens smudges. Use a soft, lint-free cloth slightly dampened with distilled water or a lens cleaning solution. Gently wipe the lens in a circular motion, avoiding harsh chemicals that can cause damage. Make certain the scanner is turned off before cleaning, and never use abrasive materials. Consistent cleaning ensures sharp, high-quality scans and prolongs your device’s lifespan.
Conclusion
By making just one simple setup change—like ensuring your scanner is properly calibrated—you can dramatically improve your scan quality. For instance, imagine scanning important documents for your business; a quick calibration could mean the difference between a clear, professional-looking file and one that’s blurry or hard to read. Keep your workspace stable, lighting consistent, and your settings optimized, and you’ll consistently produce sharp, clear scans that impress every time.